
The Seasoned Kids
Lesson 7: Measuring & Weighing
Teaching kids about measuring and weighing is one of the most educational lessons in the kitchen. While everything that we’ve been doing is educational and has real life lessons attached, this lesson can easily translate into a ton of mathematical lessons as well. Teaching addition, multiplication, fractions, and so much more, will have your kids learning and not even realizing it. This is always a win, win for a parent.
How to Start
I’m not going to lie. This is definitely a lesson where messes are bound to happen. But it’s one of the most important lessons that you can teach your kids in the kitchen. Learning to measure and swap measurements (tablespoons for cups) will continue to help them for the rest of their life.

With smaller kids we recommend by starting to learn to measure by spooning ingredients into a measuring cup. Once they learn how to do this and learn what it means to fill a measuring cup up to the top, then you can move onto actually using the measuring cups and spoons to grab the ingredients from directly. Alternatively, you can hold their hand while they learn as well.

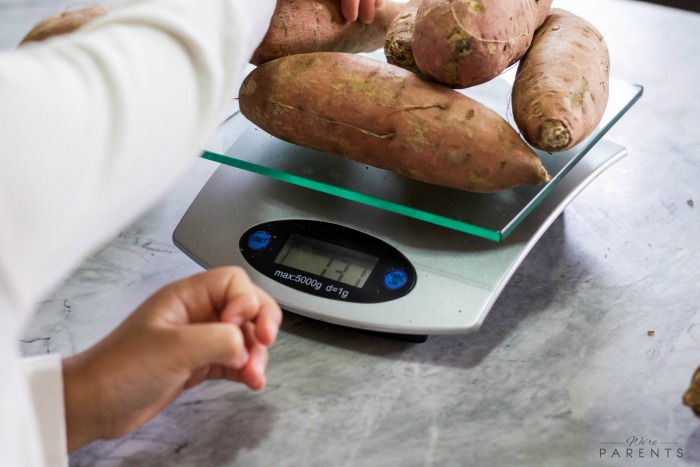
Weighing things is also a great lesson for kids, especially when teaching math. Teaching them how many ounces equals a pound and converting that into metric units for kilograms are all fun tasks for kids to do in the kitchen. It’s always great to have a basic scale in the kitchen!
Tips for teaching your kids to measure and weigh
- Use a learning tower to get them stable at the counter
- Standing on a stool or sitting on the counter, doesn’t stabilize kids as much as a tower will
- Use large measuring cups (see in picture below) with measuring lines on them in the beginning.
- If your child knows their numbers, this is even easier, because you can tell them to keep filling until they get the the number 2 line for 2 cups.
- When ready to move onto regular measure cups, use cups that are ergonomically easier for kids to hold (we like these)
- In the beginning, only do cold or room temperature foods, no hot liquids.
- Also in the beginning, start with solids before allowing to do liquids.
- Trust me, this will save your sanity for a bit longer


Recipe Time!

These Holiday Pudding Cups are uber cute for the holiday season and our girl loved making them! We have a Turkey Pudding Cup, as well as a Reindeer Pudding Cup! Watch her make it then grab the recipe below!

- Box of no cook chocolate pudding
- 2 cups milk
- Large Marshmallows
- Red Gum Drops
- Chocolate Chips
- Red Grapes
- Green Grapes
- Blueberries
- Mini Candy Canes
- Clear 9oz plastic cups
-
Make chocolate pudding with milk according to box directions.
-
Tear one large marshmallow in half
-
On each of the sticky sides, place a chocolate chip in the middle of the marshmallow
-
Stick each marshmallow onto the side of the cup
-
Cut tip off of red gum drops
-
Stick sticky side of gum drop underneath the eyes on the cup.
-
Spoon pudding into cups
-
*Note: A small box of pudding will make 2 9oz cups. If you wish to make more at once, put marshmallows into cup to fill it up and spoon pudding around it.
-
If making turkey cups - use wooden skewers or toothpicks to put grapes and blueberries on and then stick in the back for feathers.
-
If making reindeer cups - use two mini candy canes facing opposite directions for antlers.
**Note about recipe: These should not be made ahead of time as the pudding will ruin the marshmallows and gum drops.
This post is a part of our “The Seasoned Kids”, kid’s cooking series. Learn more about The Seasoned Kids here.
Previous Lessons!
- Week 1: Teaching Importance of Washing Fruits and Vegetables + Berry Parfait Recipe
- Week 2: Learning to Stir + Cranberry Coconut Energy Bites
- Week 3: 3 Ways to Mash + Overnight Oats Recipe 3 Ways
- Week 4: Spreading + Peanut Butter and Jelly Spider Sandwiches
- Week 5: Tearing + Bugs on a Log
- Week 6: Pouring + Chocolate Peanut Butter Yogurt Popsicles
![]()


Leave a Reply