This is a sponsored conversation written by me on behalf of Cricut. The opinions and text are all mine.

A few years ago, a local wood carver had made me an absolutely gorgeous hanging ornament that said, “Today I Choose Joy”.
I absolutely loved it.
After the holidays, I decided that instead of packing it away that I would hang it up where I would see it everyday as a subtle reminder.
Being someone that lives with depression and anxiety, sometimes reminders like this can really help.
When our oldest became old enough to read, she said she’d like something similar to that.
I loved the idea of creating one for her on my own as an even more special little gift. And thought it would be great to hang in our girls room or put in their school room (we homeschool).
So when we unboxed our brand new Cricut Explore Air 2, I knew that I would probably create that as one of my first projects.
It seemed easy enough to make and I think using a fun shiny vinyl would be perfect for a little added flare without much work on my end since I still wasn’t sure how everything worked.

I purchased some round wooden pieces that were holed and had rope to hang already.
The first thing I did was measure how big I wanted my word to be.

Then, in Cricut Design Space, I found this already made image that was perfect for the look that I was going for. Cricut Design Space has a ton of options for you to choose from that makes crafting a breeze.
I knew that I didn’t want it to be two colors for my first project, so on the right hand side where it shows the cuts, I clicked the eye to delete one of the colors for Joy.
What I was left with was choose has it was originally and the orange Joy. I change the color to black just so I could see them together.
The color doesn’t matter really in this case though, it’s just going to be whatever color vinyl that you choose.
Since we are using wood, make sure to choose a permanent vinyl. We chose a holographic vinyl.

At the time we only had the smaller square mat, and this vinyl is longer, so we just rolled up one side and attached the other to the mat we had in order to cut. This is great if you only have limited materials.

Once it was printed, we used the weeding tool in order to get all the excess material away from the words choose and joy.
We have found it easy to use transfer paper after removing the excess materials.

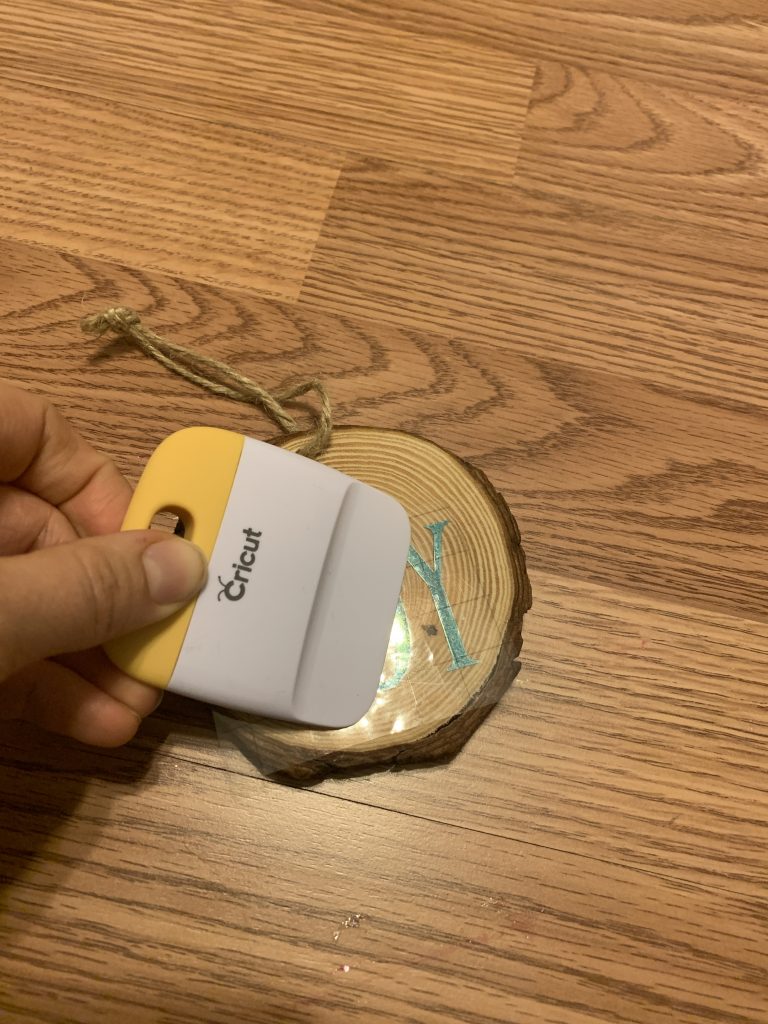
In order to do that, we used the scraper tool in order to get it to move from the vinyl paper to the transfer paper.

Then, we placed where it wanted it on our wood piece and again used the scraper to get it from the transfer paper to the wood.
After ensuring that all the pieces were moved from the transfer paper to the wood, we carefully removed the transfer paper, repeated with the word choose and then viola, done! We did decide to use mod podge to seal even more because …kids…they are rough!

What we were left with was a gorgeous hanging piece of wall art for our kid’s school room that they will love!
They got so excited for how shiny it was. And they have even asked if they can make some for their friends.

These types of easy projects make learning how to use your Cricut machine fun. Here’s another idea that we did on a plant that needs just words added to Cricut Design Space and only one color of vinyl.


Leave a Reply